I’ve been using previous versions of ON1 Photo 2019.5 for many years now and I’ve watched its progress from a Lightroom / Photoshop Effects plugin to a fully fledged RAW Processing package.
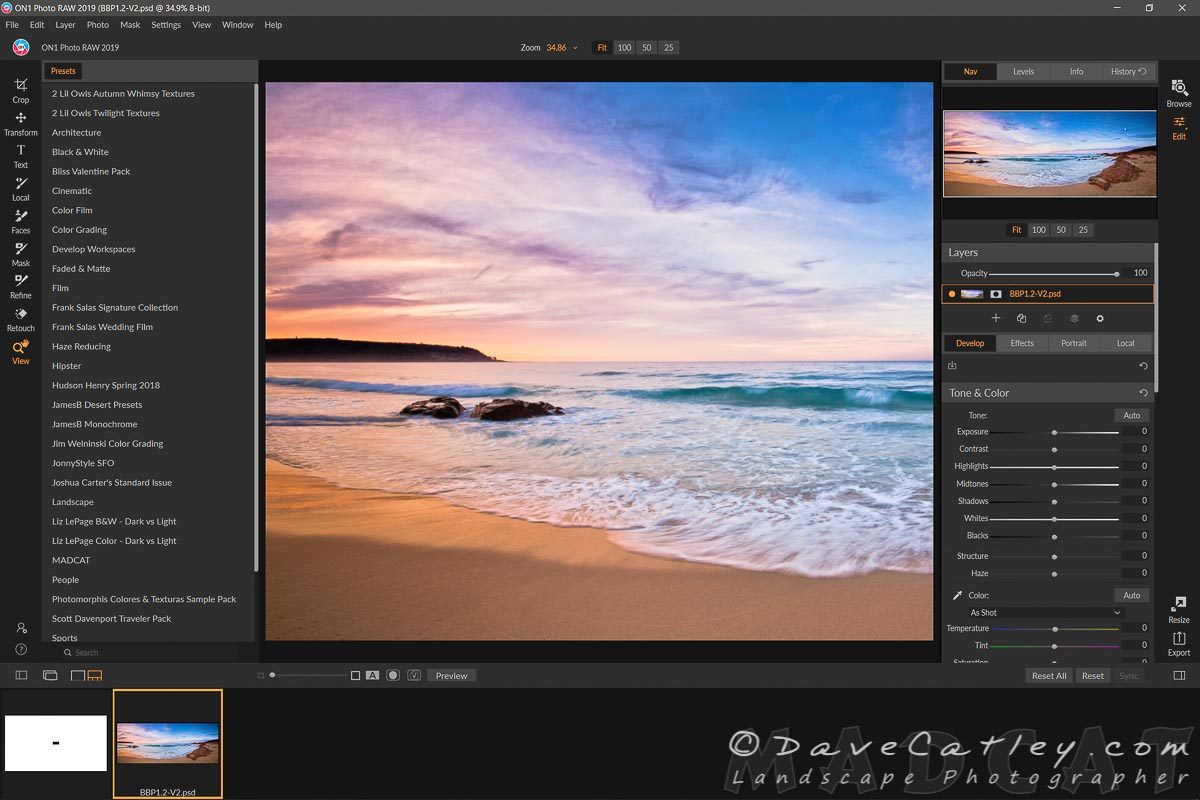
ON1 Photo RAW 2019.5
ON1 Photo RAW is being touted as an alternative to Lightroom & Photoshop for Photographers and now supports many advanced features aside from RAW Processing & Effects Filters. Features like Layers, Layer Masks, Luminosity Masks, HDR Merging & Panorama Stitching to name but a few.
ON1 Photo RAW 2019.5 – An All New Photo Editing Experience
I haven’t fully embraced the newest version yet, but I’m excited to take a closer look and see how I can make the most of this new release. I’ve always found that it has formed a solid part of my post processing workflow and I’m intrigued to see how much that will grow and whether it really can be a serious replacement to Lightroom.
“ON1 Plus provides in-depth monthly courses on using ON1 Photo RAW and courses from top photographers on the photography topics you care about most. All of it is easy to follow-along and fun. You can also join-in with other ON1 Photo RAW 2019.5 customers to ask questions and share photos. That is ON1 Plus.”
For those out there not happy about the current Adobe Subscription model or not able to justify the cost then ON1 Photo RAW 2019.5 is available as a One Off Perpetual License at a very reasonable price. If you’re not sure if it’s for you then why not download the Free 30 Day Trial from the ON1 Website and give it a go.
ON1 Webinar
On1’s recent webinar offers some interesting insight into using ON1 Photo RAW 2019.5:
Watch this space for more information on how I integrate the new ON1 Photo RAW features into my workflow 👍
Also available at the Gallery are Greeting Cards, Magnets, Keyrings, Mugs, Scarves, Tote Bags, Wall Tapestries, Lens Cloths, unique 3D Printed Gadgets & Gizmo’s and much more …
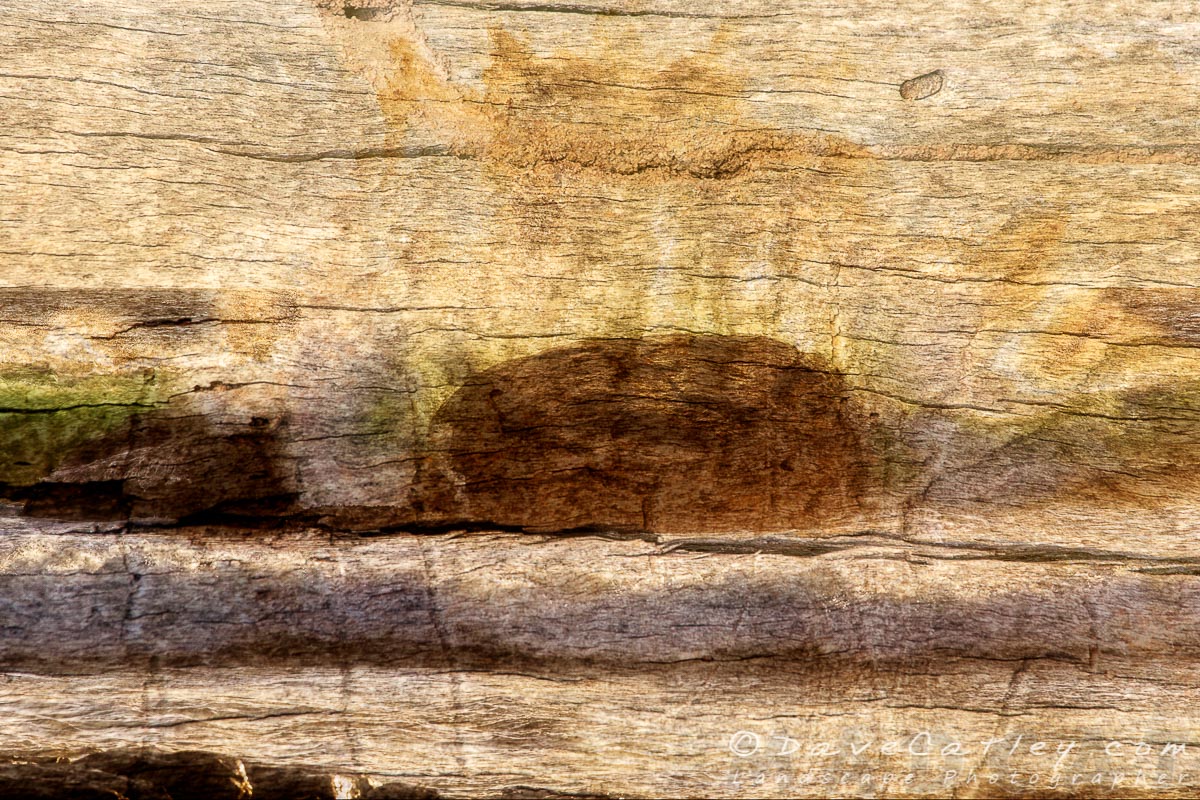
While it is possible to transfer images onto wood or even print directly on wood it is not a process that is available or practical for many of us so I have been playing around with a process in Photoshop for combining photos and textures to give the illusion of a print on wood.
Waves on Wood, Redgate Beach, Margaret River Region, Western Australia – Photographic Art
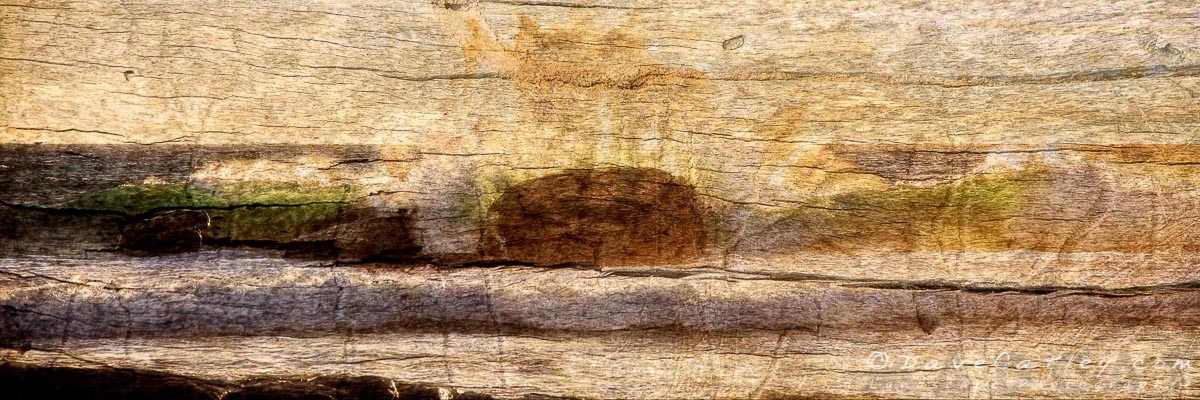
How cool will this look as a 60″ canvas in your living room?
Waves on Wood, Redgate Beach, Margaret River Region, Western Australia – Living Room Canvas
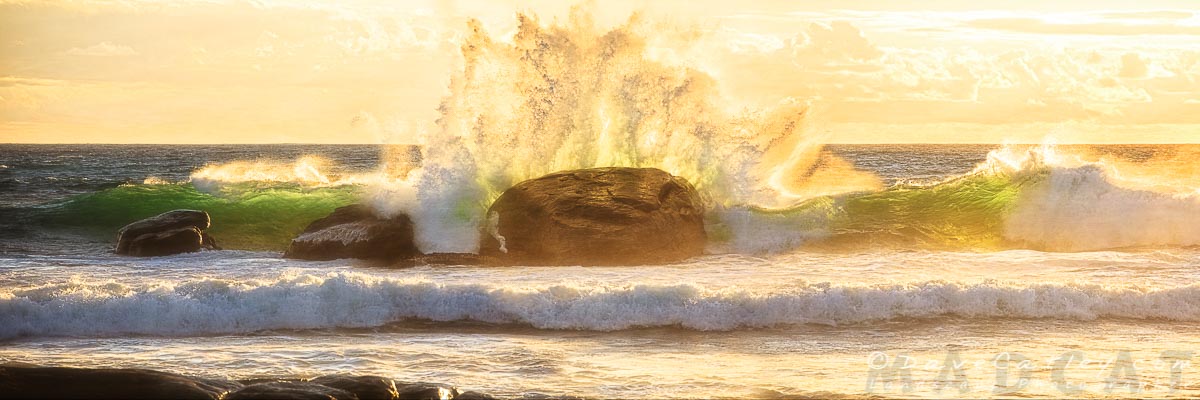
Compare the Textured Image with the original image “Crashing Waves on Redgate Beach”
Post Processing
If you’re interested in the technique used to create this effect then here are the basics (though the exact settings will vary depending on the photo & the textures being used):
Open your image in Photoshop
Open your texture image in Photoshop and resize it to the same dimensions as your photo
Copy and paste your wood texture over your photo as a new layer
Set the blending mode of the texture layer to
Set the blending mode of the texture layer to something like “Darken” or Multiply”
Duplicate your texture layer (CTRL/CMD + J)
Set the blending mode of the second texture layer to “Soft Light” or “Overlay”
You can now adjust the blending modes & opacity of the texture layers to get an effect you like
You can also replace one of the textures with an alternate texture for different effects or even add additional textures, the sky’s the limit
This image was created using a combination of Adobe Lightroom Classic CC, Adobe Photoshop CC 2018 & ON1 Photo RAW 2018.


Subscribe to our VIP Club for Free
Click here for more information
Thankyou for joining our VIP list!